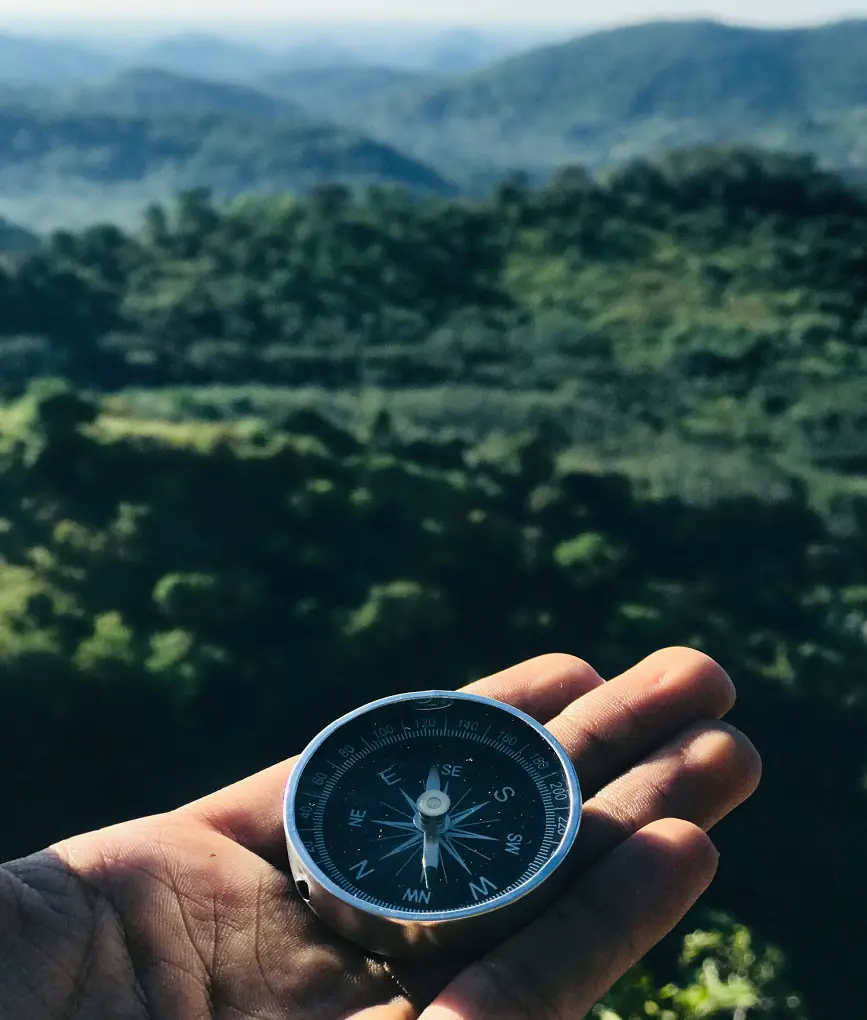
You won't ever get lost if you know the fundamentals of map and compass navigation. Hiking on a straight path through even the wildest forests and fogs will make you feel safe and protected right away. The amazing sensation of success and independence that comes from using a map and compass to navigate will amaze you.
Freedom, independence, and the excitement of venturing into unknown areas become more than mere abilities; they serve as the entryway to life-changing experiences and the delights of self-discovery. If you wondering how do I use a compass then here we will be explaining how to use a compass for outdoor adventures.
Understanding Your Compass
A compass basically has 8 key features:
- The plastic base or foundation is called the baseplate.
- Another name for the compass dial is the compass wheel. Four major compass points are displayed: N-S-E-W which are North, South, East, and West. Additionally, it features markings at two-degree intervals up to 360°.
- The white end of the magnetic needle points south, while the red end points north.
- The baseplate's bottom has compass lines. Another name for them is orienting lines.
- Within the dial, the orienting arrow is fixed and oriented toward the north.
- The large arrow at the baseplate's end indicates the journey arrow's direction.
- The direction of the travel arrow is extended by the index line.
- The map scales, commonly referred to as Romer scales, for 1:25,000 and 1:50,000 maps, together with a metric measurer.
How to Use a Compass for Hiking

For hikers and outdoor lovers, learning how to navigate using a map and compass opens up a world of opportunities. It's a key to unlocking the wonder and beauty of the vast outdoors, not simply a talent. How do I use a compass? Learn how to use a compass for hiking:
1. Orient Your Map and Compass
The first thing you should do is align your body, compass, and map with magnetic north. With the direction of travel arrow pointing toward the top of the map, position your compass on it. Turn the bezel so that the direction of the travel arrow and N (north) line up.
To align the baseplate with the left or right edge of your map, move it until one of its straight edges lines up. (The journey arrow should continue to point in the direction of the map's top.)
Next, spin your body until the end of the magnetic needle is inside the orienting arrow's outline while keeping the map and compass stable. You are now able to recognize adjacent locations on the map and have it properly positioned. Before you go, spend some time becoming acquainted with your surroundings and map.
Adjust for Declination
Declination can make the difference between reaching your goal and being miles away from it. Declination is the difference between magnetic north, which is the direction of your magnetized needle points, and true north, which is the top of your map.
The Earth's magnetic fields and core components cause the declination value to vary with your location, but it also varies with time. To make your life easier, the declination value is typically included in the map legend of topographic maps.
2. Take Your Bearing
A "bearing" is a precise way to represent a direction in navigation. For example, you may choose to follow a bearing of 315 degrees rather than going "northwest" to reach a campground. Bearings are usually about a certain place. You won't arrive at the same place if you take the same heading from two distinct locations.
Bearings can be used to locate yourself on a map or to ascertain the direction of your destination goal. How to locate yourself on a map so that you can figure out the direction of your destination in the field:
- Place your compass on the map so that its straight edge is in line with both your current position and the place you are attempting to go, with the destination-of-travel arrow pointing in the direction of your destination.
- Make sure the orienting lines and the map's north-south grid lines match up by turning the rotating bezel.
- By observing the location of the index line on the revolving bezel, you may read the bearing.
- Hold your compass so that the direction-of-travel arrow points away from you after removing it from the map.
- Make sure the magnetic needle is inside the orienting arrow by rotating your body.
- Your destination is now indicated by the direction-of-travel arrow.
To determine your position on a map, follow these steps:
- Start by locating a landmark on your map that is simple to discover.
- Hold your trekking compass so that the direction-of-travel arrow points toward your selected landmark and away from you.
- Make sure the magnetic needle is inside the orienting arrow by turning the revolving bezel.
- By observing the location of the index line on the revolving bezel, you may read the bearing.
- Position the corner of your trekking compass on the map close to the direction-of-travel arrow on the landmark of your choice.
- Rotate the whole base plate until the north (N) marker on your rotating bezel points toward true north and the orienting lines match the north-south grid lines on your map.
- Your location on the map is the intersection of a line drawn along the straight edge of your trekking compass as it is presently displayed on the map.
3. Adjust Your Bearing
You would be done and prepared to leave if magnetic north and true north were the same. They are typically not, and as a result, we must apply a few changes to account for the discrepancy between the two.
Although it's not that hard, this is the section that most people find confusing. The necessary key is included with every topographic map. Look for a small diagram, at the border of your map. It will let you know that the Magnetic North is 13° west/left of True North in our sample area.
This figure is significantly different in other parts of the world. For this reason, every place you intend to traverse with a map and compass needs topographic maps of the highest caliber.
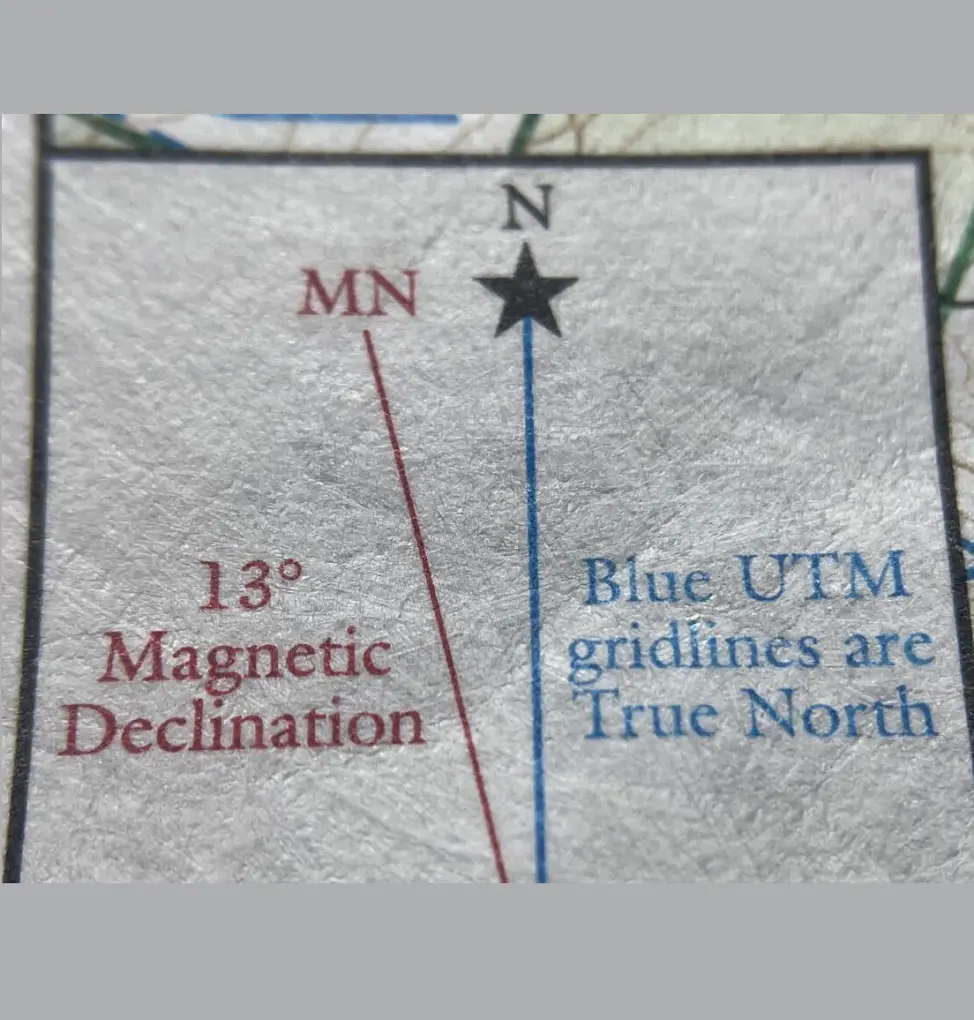
For 13° West
Rotate your dial counterclockwise to the left if Magnetic North is to the left of True North. Rotate your dial clockwise to the right if Magnetic North is to the right of True North. "West is best / East is least" is the mnemonic for this.
We will adjust our dial 13° to the left in this example since magnetic north is to the west/left of true north. Our starting bearing is increased by this: 247+13 = 260°.
Because your compass is now ready to use, you no longer require your map for the time being, and the bearing itself is also no longer crucial.
4. Using Your Compass
Lift the compass off the map once you've gotten your bearings, and hold it so that the direction of the travel arrow points directly ahead and away from you. Rotate your entire body, including the compass, until the red arrow in the compass bevel is parallel to the red end of the needle. You can now go in the direction indicated by the travel arrow until you arrive at your destination. Along the trip, keep checking your bearings.
Use a map and compass to design a quick route near your house and use them to test your newly acquired abilities. You can begin exploring farther out as your experience increases. You'll quickly feel confident enough to go out on less-traveled paths if you go for a walk with a companion and make sure your phone is well-charged.
That's about it, but keep in mind that practice makes perfect. Your confidence in your ability to navigate will increase with the amount of time you spend using a map and compass.
Tips for Beginners
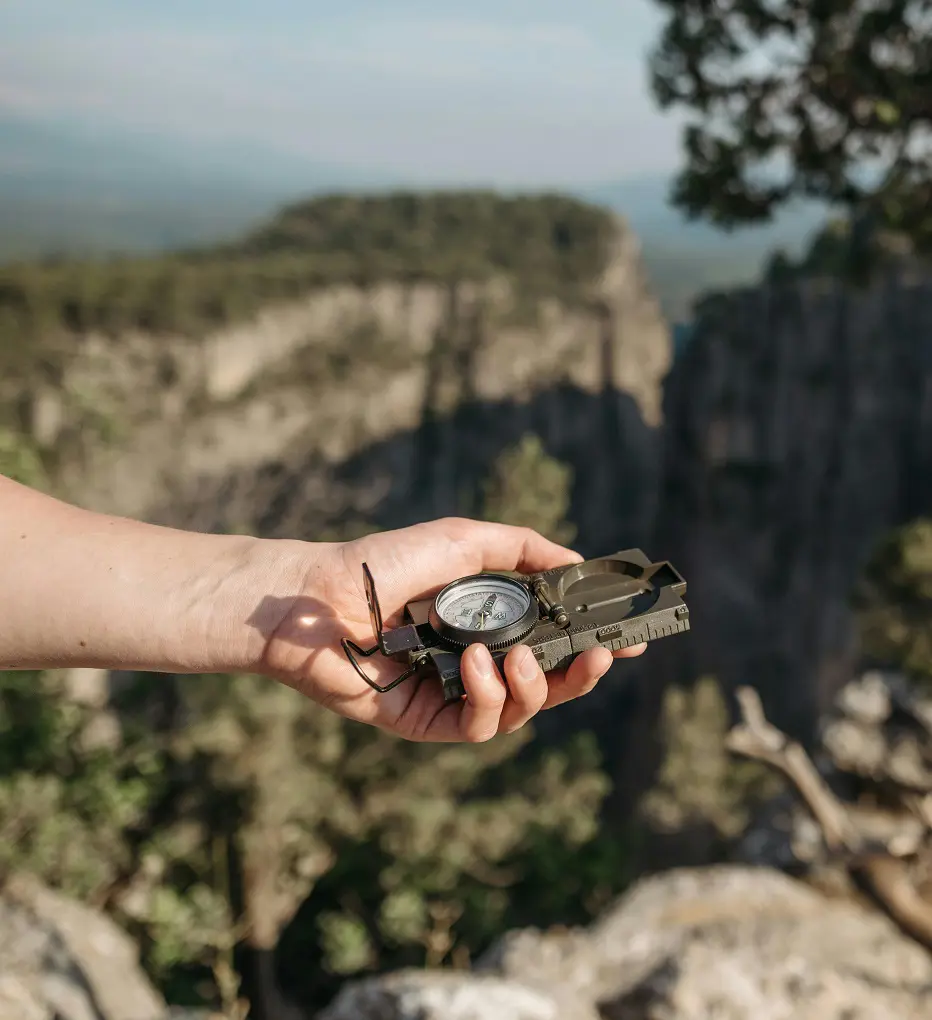
If you are just a beginner then here are some of the tips on using the compass for you to learn and try while going for a long hike or camping :
- The direction-of-travel arrow should always point in the direction you wish to go.
- Make sure your orienting arrow is always pointing toward the true north or the top of your map.
- Once you have your bearings, you should always follow the direction-of-travel arrow rather than the magnetic needle unless you want to go straight north.
- When getting your bearings, always choose a landmark that is not moving.
Compass for Outdoor Adventure
One of the most fundamental navigational tools a hiker may own is a compass. It functions with any map, or you may not need any maps, and requires no batteries either. You won't need to use a smartphone for backcountry navigation, and you'll experience a far stronger connection to the terrain.
When you look at your compass, the first thing you notice is that the red end is constantly pointed in the direction of magnetic north and the floating needle is magnetized. The red needle on the compass remains locked on magnetic north regardless of the direction you turn it.
But another thing to keep in mind while using a compass is that true north (the North Pole) is not necessarily magnetic north. If the N on your compass points to true north when you box your needle (have the red arrow within the red border – the orienting arrow), you'll find life much easier because maps are orientated toward true north.
How To Resolve The Issue of Two Different Norths?
For any given location, you can easily determine the degree difference between magnetic and true north. However, keep in mind that each place has a different degree of variation between true and magnetic north.
Now, if you're using a topographic map, it most likely contains a legend that shows the declination as two straight lines, with magnetic north denoted by MN on one line and true north by a star at the top.
Hence, you can also decline this legend if your map isn't very new, as mentioned above, declination fluctuates not only by region but also with time. It doesn't follow that the declination is still 12 degrees west just because it was when the map was created.
Traveling by Compass
Maps and field sighting are the two methods by which you may get a bearing out on the route. Here's a quick rundown of each method.
By Map
Put your compass and map on the floor. Next, draw a straight line between your current location and your desired destination. The azimuth ring, which is just the ring with the measured units of degrees on a compass, is twisted until north on the map and the orienting arrow are aligned. Line up the edge of your compass on this line so that the travel arrow is in the direction you want to travel.
You will know you are headed in the correct direction when you take your compass off the map and turn until the red magnetic needle and orienting arrow line up.
By Sight
By sight is considerably easier. For instance, if you are going to a mountain, use the compass's journey arrow to indicate your present location. Next, turn your azimuth ring until the red end of the magnetic needle heading north is aligned with the orienting arrow.
As long as the needle and its housing are still in place, you should have no trouble getting where you're going.
If you still have problems and confusion using a compass, here is a video on how to use it:
Should You Always Carry A Compass While You Hike?
These days, some people find it a bit excessive to hike with a compass, while others find it essential. There are several reasons to keep using your compass, particularly given the dependability of contemporary devices and their batteries, like your GPS.
It may be quite helpful to have a compass in your backpack and ready to go, especially if the technology we carry with us breaks down on any routes that aren't usually well-traveled or marked and you have to use "older" techniques like a compass to find your way.
When Technology Breaks Down
The main reason to have a compass with you is in case of technological breakdown like a battery down or software problem or anything thing, but there are several other reasons as well, such as trekking on a tight budget.
Hiking safely can be made more accessible for those who cannot afford the best hiking equipment, which is likely the majority of us. Compasses can be purchased for relatively low prices, especially when compared to GPS devices, which can be rather expensive for those on a tight budget.
It sounds wonderful to have a less expensive navigational tool that is also lighter and more reliable, which is why it's crucial to always have a compass on hand while going on an outdoor adventure.
It is Very Light Weight and Useful for Emergencies
Compasses may also be useful in emergencies, even if you have a GPS or other navigational aid with you. Having this backup is a smart idea, especially since it weighs just 50 grams. This light safety solution appears to offer only advantages, but certain disadvantages become obvious as you learn how to use your compass.
If you're using one for the first time, figuring out bearings, true and magnetic north, and how to acquire the right direction from your compass might be a bit of a challenge.
This hindrance prevents many people from using a traditional compass instead of GPS or simple smartphone navigation applications.


